Win At Business And Life In An AI World

RESOURCES

  • Jabs Short insights and occassional long opinions.
  • Podcasts Jeff talks to successful entrepreneurs.
  • Guides Dive into topical guides for digital entrepreneurs.
  • Downloads Practical docs we use in our own content workflows.
  • Playbooks AI workflows that actually work.
  • Research Access original research on tools, trends, and tactics.
  • Forums Join the conversation and share insights with your peers.

MEMBERSHIP

Home › Playbooks › NotebookLM: A Quick Start Guide to Repurposing Your Content

NotebookLM: A Quick Start Guide to Repurposing Your Content

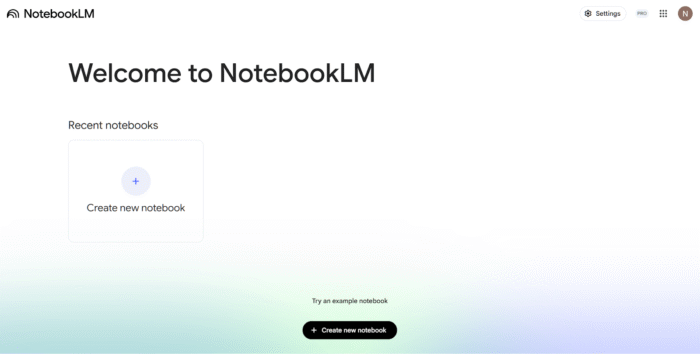
1. Create a Notebook

  • From the “Welcome to NotebookLM” screen, click “Create new notebook.”
"Welcome to NotebookLM" screenshot

2. Add Sources

  1. In the “Add sources” window, select a source type:
"Add sources" screenshot
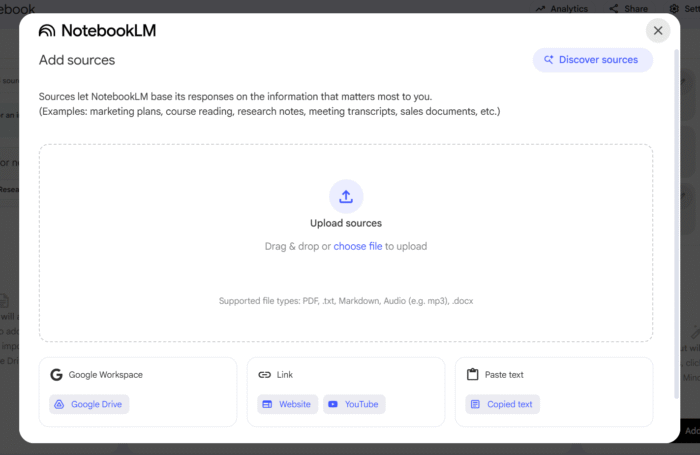
  • Google Workspace (e.g., Google Drive)
  • Link (e.g., Website, YouTube)
Link (e.g., Website, YouTube) screenshot
  • Paste text (Copied text)
  • Upload sources (PDF, .txt, .docx, .mp3, etc.)
  1. Follow the prompts to upload or link your content. 
  2. Your uploaded files will appear in the “Sources” panel on the left.
    • You can have as many sources as you want.
    • In our example, we are only using one source.
Sources screenshot

3. Interact via Chat (Optional)

  1. The “Chat” panel in the center will automatically display a summary of your sources.
  2. Below the summary, you can use suggested questions to begin.
  3. Type your own questions into the chat bar to get answers based on your sources.
NotebookLM chat screenshot

4. Save Notes (Optional)

  • Click the “Save to note” icon (a pin) under any AI response to save it.
  • Alternatively, click the “Note” tab in the “Studio” panel (top right) to open a text editor. You can type notes or paste answers here.
NotebookLM Save Notes screenshot
  • Your notes may also be converted to sources.

5. Set Custom Goals or Instructions

Before generating a new asset, you need to guide the AI. Your “Custom Goal” is the specific instruction you give the AI to define the tone, style, and purpose of the output.

  • In the “Chat” panel, type your goal as a clear command. For example:
    • “My goal is to create a blog post for beginners.”
    • “Act as an expert marketer and generate a 5-part email series.”
    • “Use the source to create a script for a 5-minute YouTube video.”
  • This instruction primes the AI and ensures the content it generates in the “Studio” is aligned with your specific repurposing goal.

6. Generate Content with “Studio”

The “Studio” panel on the right contains tools to transform your sources.

  • Audio Overview:
    • Click “Audio Overview.”
    • Select a Format (e.g., Deep Dive, Brief, Debate).
    • Choose Length (Shorter, Default, Longer).
    • Click “Generate.”
NotebookLM Audio Overview screenshot
  • Video Overview:
    • Click “Video Overview.”
    • Select a Format (e.g., Explainer, Brief).
    • Choose a Visual style (e.g., Auto-select, Classic, Whiteboard).
    • Click “Generate.”
NotebookLM Video Overview screenshot
  • Reports:
    • Click “Reports.”
    • Select a Format from the available options (e.g., Briefing Doc, Study Guide, Blog Post, White Paper).
    • Click the desired format to generate.
NotebookLM Reports screenshot
  • Other Tools: You can also use other tools in the Studio, such as Mind Map, Flashcards, and Quiz, by clicking their respective buttons.
NotebookLM Studio screenshot

7. Export Your Ready-to-Publish Assets

Once NotebookLM has generated your new content in the “Studio” panel (like a Blog Post or Audio Overview), you need to export it.

  • For Notes & Reports: Look for a “Share,” “Export,” or “Download” icon on the generated note or document. You can also copy and paste the generated text directly from the “Note” tab or chat panel into your preferred platform (like WordPress, Google Docs, or your email client).
  • For Audio/Video: These assets may offer a “Download” button to save the .mp3 or .mp4 file or provide a “Share” link for distribution.

Your Turn

That’s it! In just 7 steps, you can see how NotebookLM makes it incredibly simple to turn your existing materials into a wide range of new assets. You don’t have to be a content expert to repurpose like one.

Now, go give it a try with one of your own sources.

What’s the first piece of content you’re going to repurpose with NotebookLM?

Share this post: